IT Services You Can Trust
Crabtree Consulting LLC serves home users and small businesses with affordable IT services such as network, computer repairs, virus removal, upgrades, etc.
SERVICES
What We Do
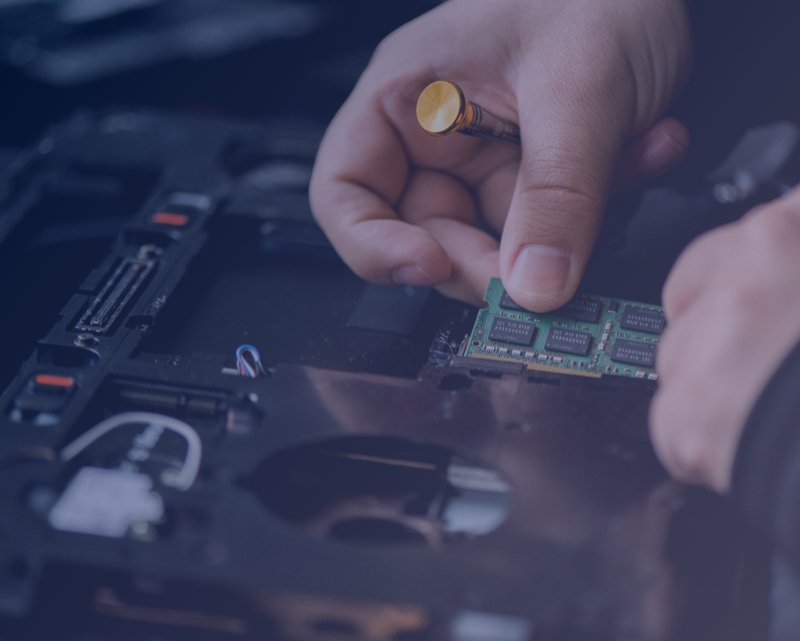
Laptop Repair / Desktop Repair
Reliable and cost effective repairs and upgrades to both Windows and Mac computers.

Virus and Spyware Removal
Is your computer running slowly or is it infected with malicious software? I can help you remove it. Give me a call!

Network Design
An efficient network isn’t just about the speed from your internet service provider. Routers, wifi and cabling and your network design all effect performance. Contact me to help you improve your network!

Website design
Do you need a cost effective website to boost sales? How about someone to update the site and keep it maintained? Give me a call!
Cyber Security
A security plan is essential for small businesses and important for home users too.
Approach
Professional IT Services & Technology Consulting
Whether you are looking for IT consulting services for your small business or repair for a home user, count on Crabtree Consulting for your needs.
We're Here To Help!
Office
Canal Winchester, Ohio
Hours
By Appointment
Call Us
(614) 626-7126